There are two methods to set up a Netgear wifi extender, using a computer and website or without using it. This post will cover both these methods in detail with images.
Table of Contents
i) Without a Website or Computer
Step 1: Plug the Netgear wifi extender into a power source
Step 2: Press the WPS button on the left side of the extender
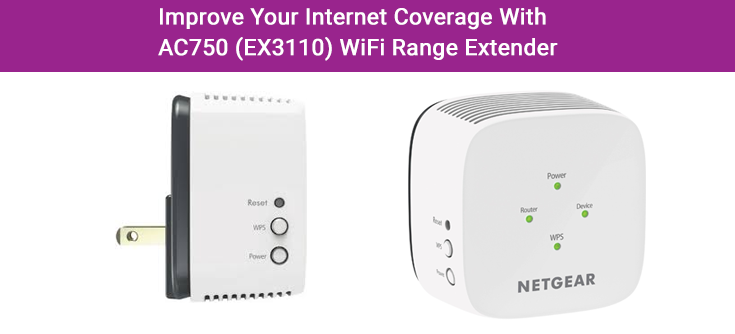
Step 3: After pressing it, press the WPS button on your router
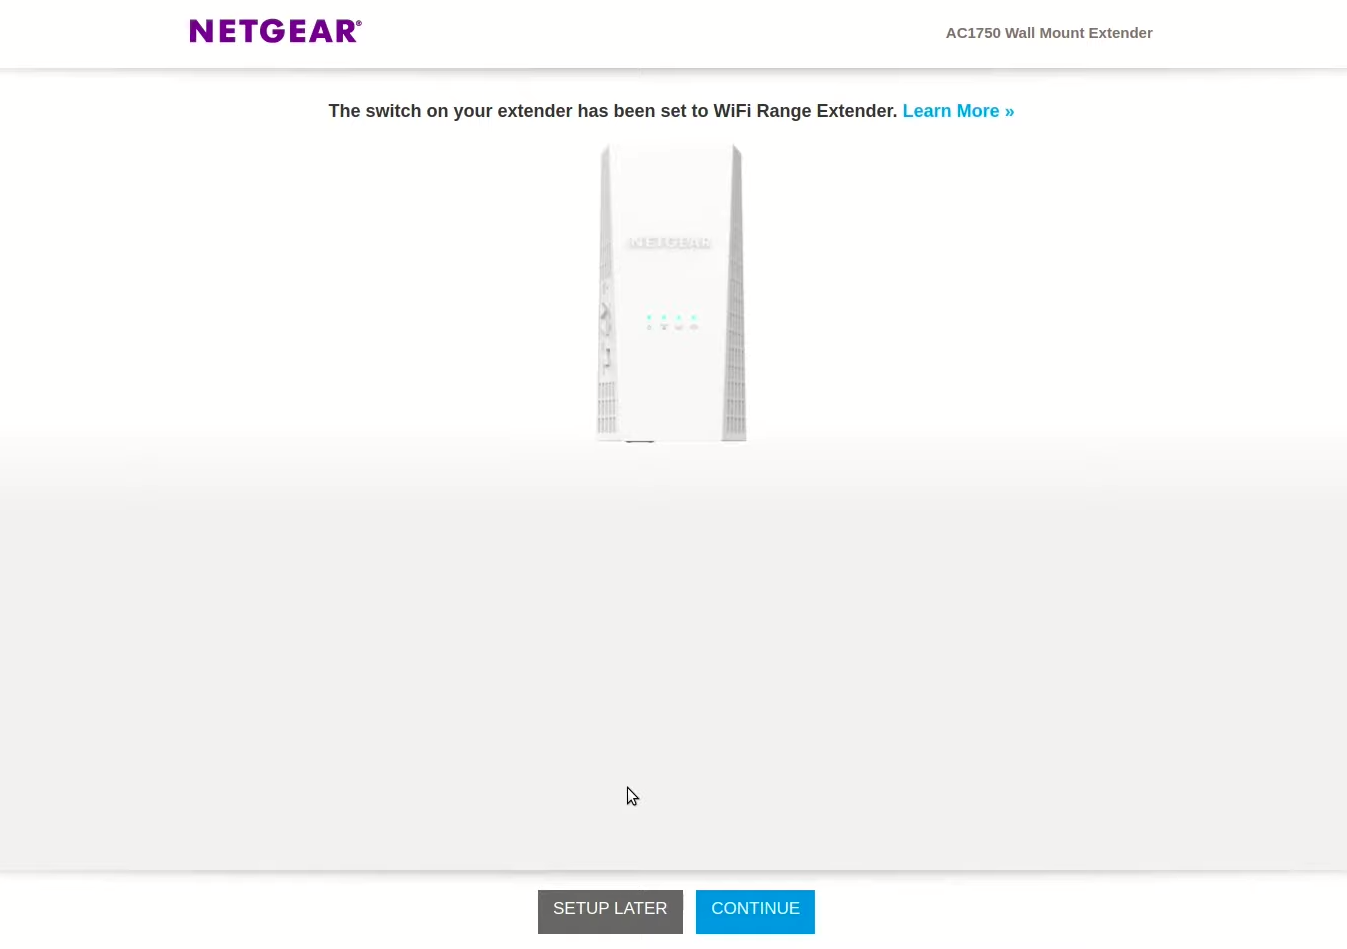
Step 4: If the connection is successful, all the lights of your extender will get lit up
Step 5: This indicates that the extender is successfully setup
Step 6: Once it is set up, you can disconnect and connect it to any other power source in your house.
ii) Using Computer
Step 1:Plug the Netgear wifi extender into a power source
Step 2: In your computer, navigate to your wifi settings
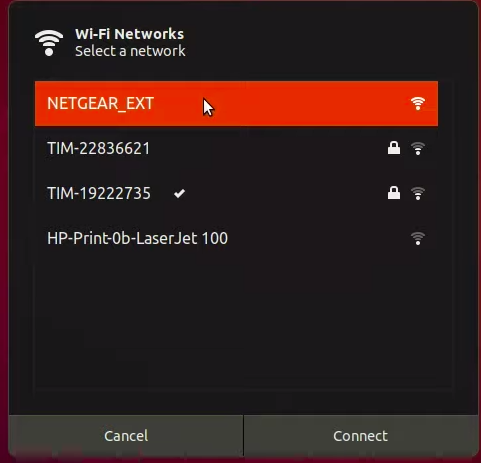
Step 3: You can find Netgear in the list of wifi connections being displayed
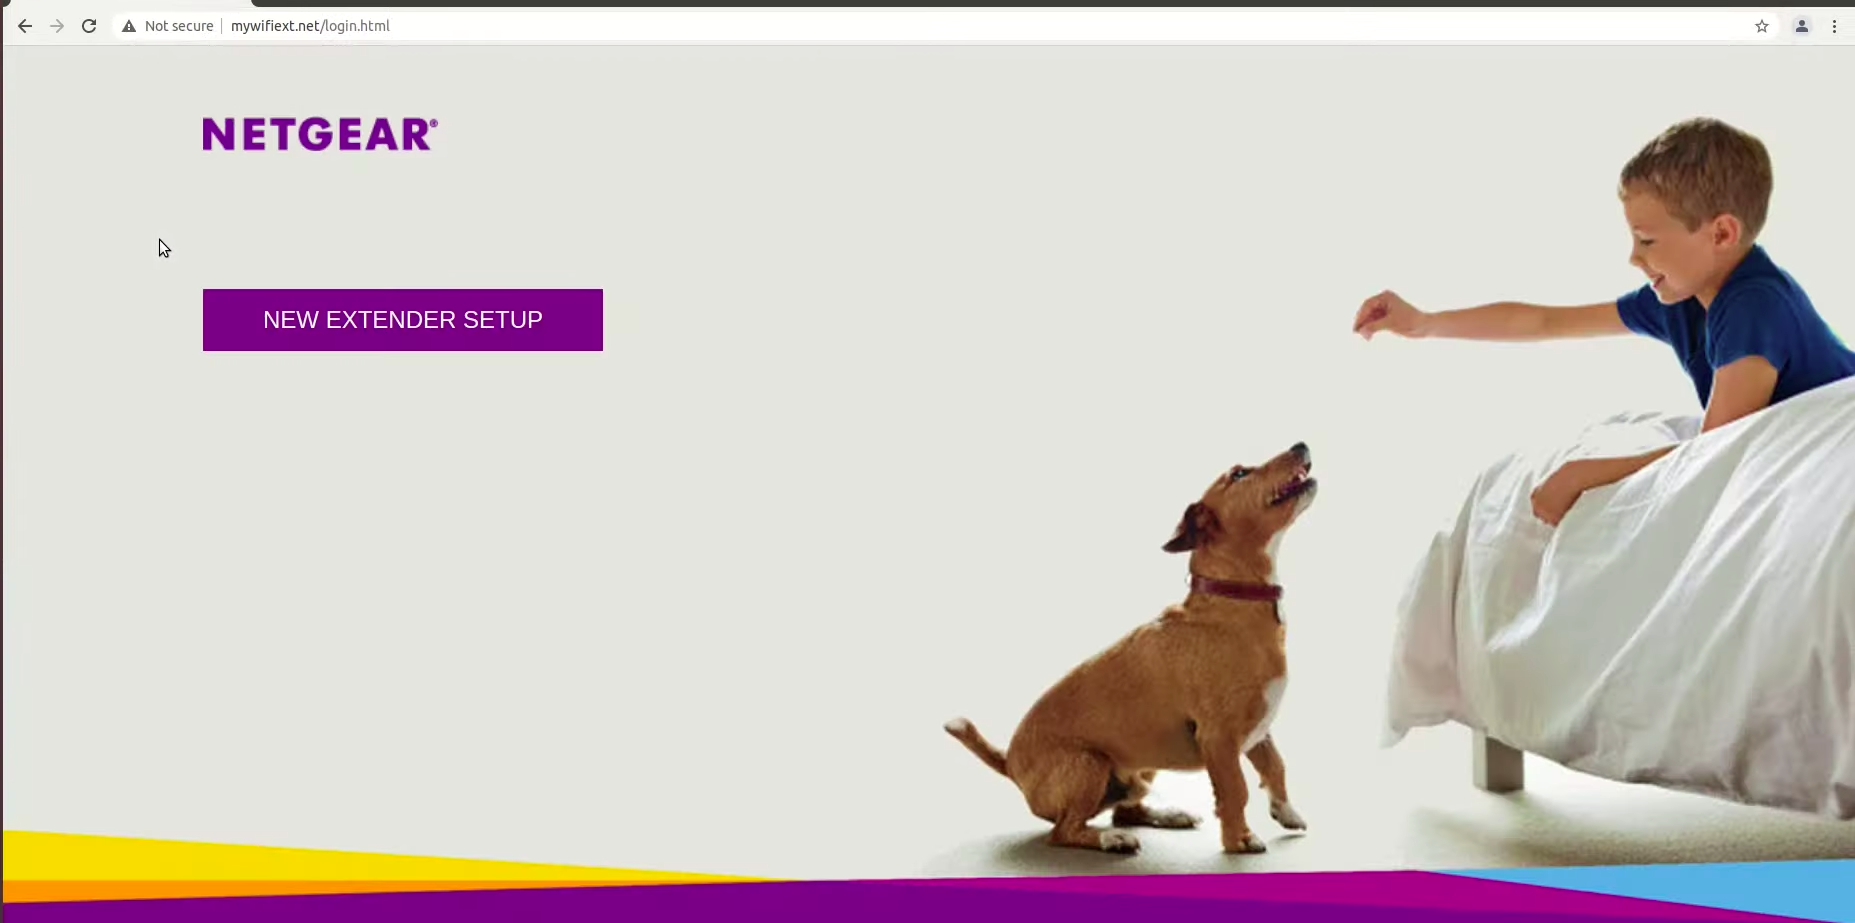
Step 4: Visit the following site – www.mywifinext.net, you will get the setup page.
Step 5: Click on the New Extender Setup button
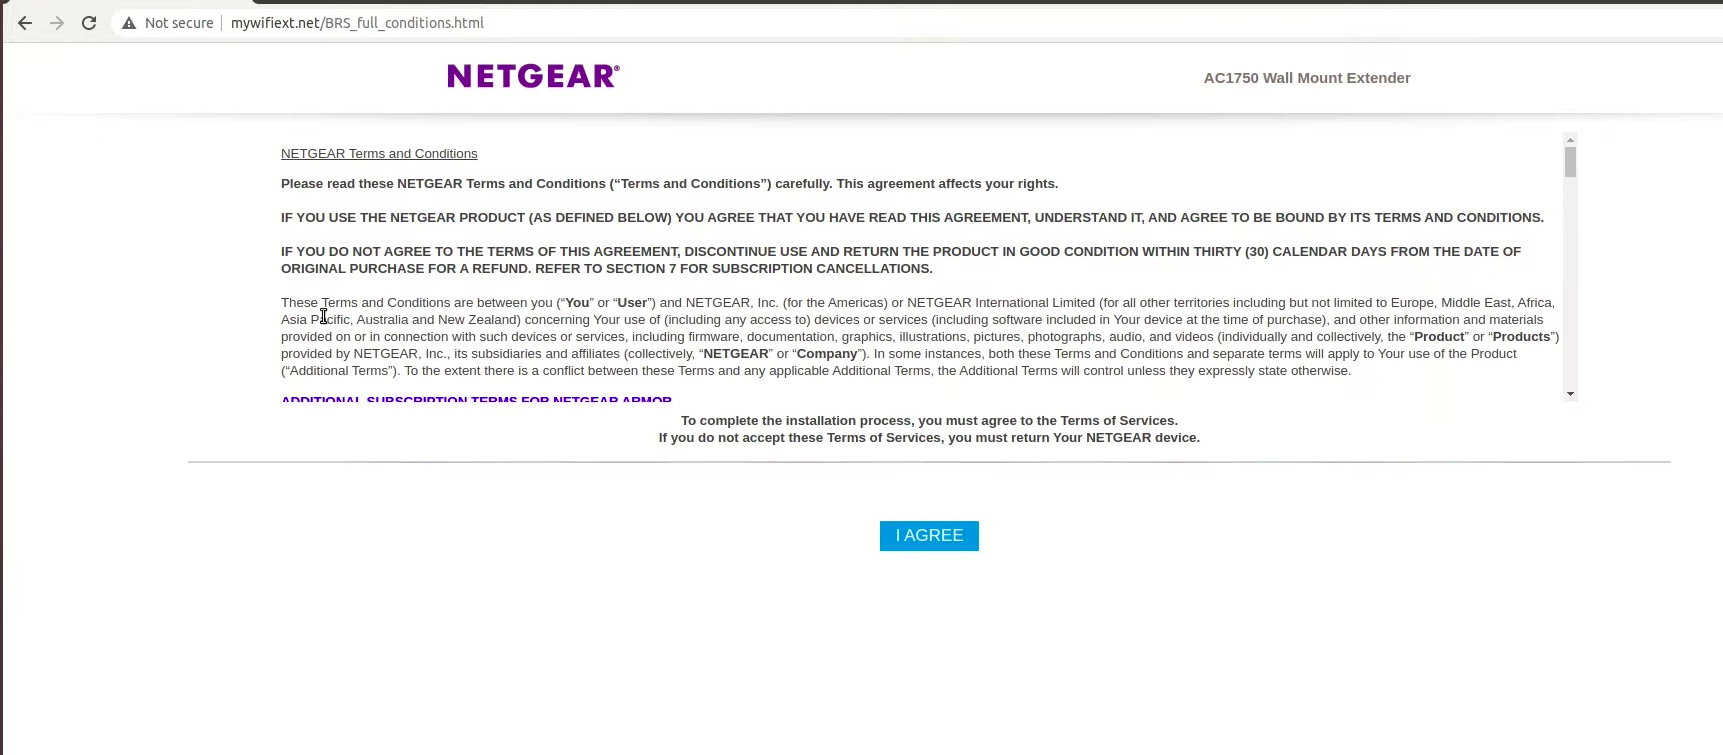
Step 6: Agree to the terms and conditions
Step 7: You will be redirected to the page, where you can register your admin account for future access to the admin panel
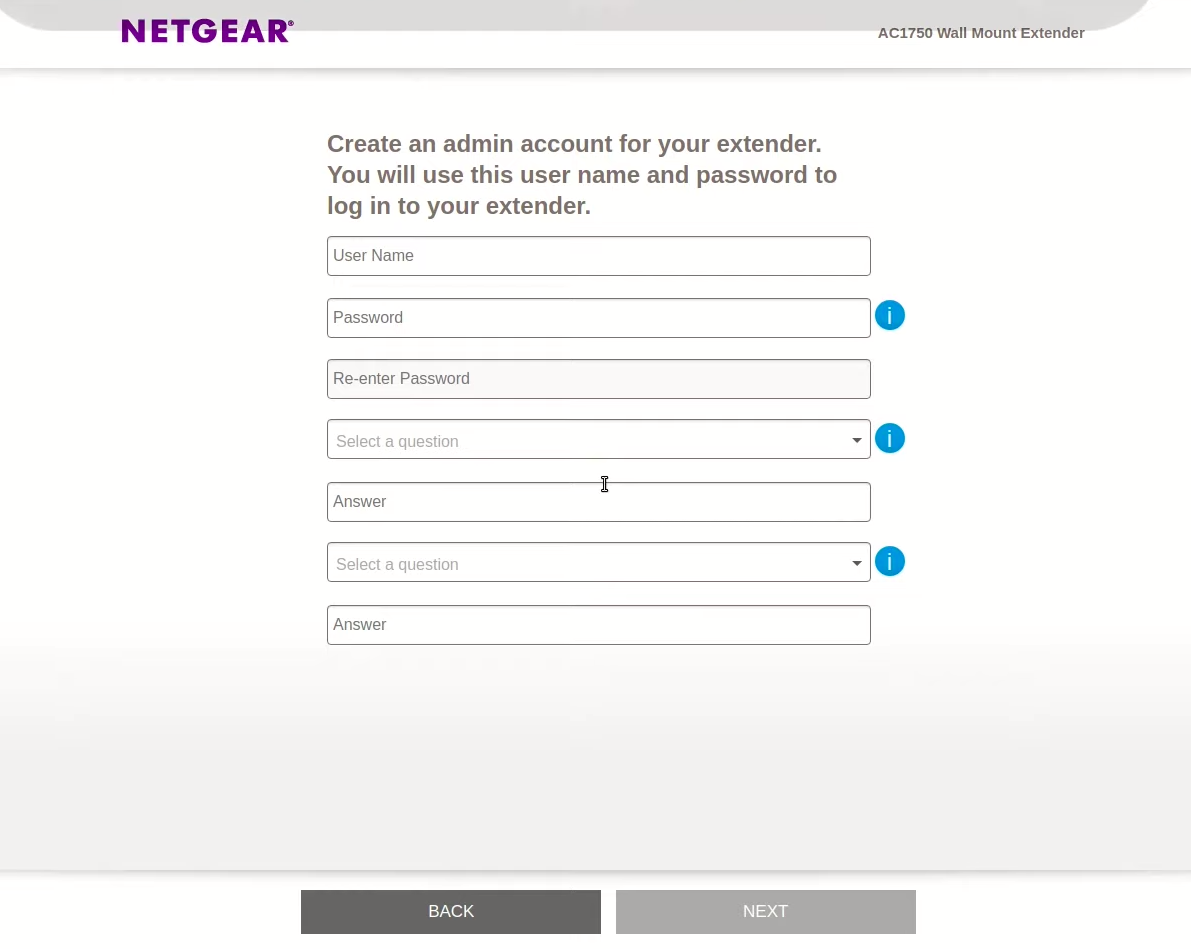
Step 8: Enter the details in the form given
Step 9: Click on the Continue/Next button
Step 10: Select the Country / Region you belong to
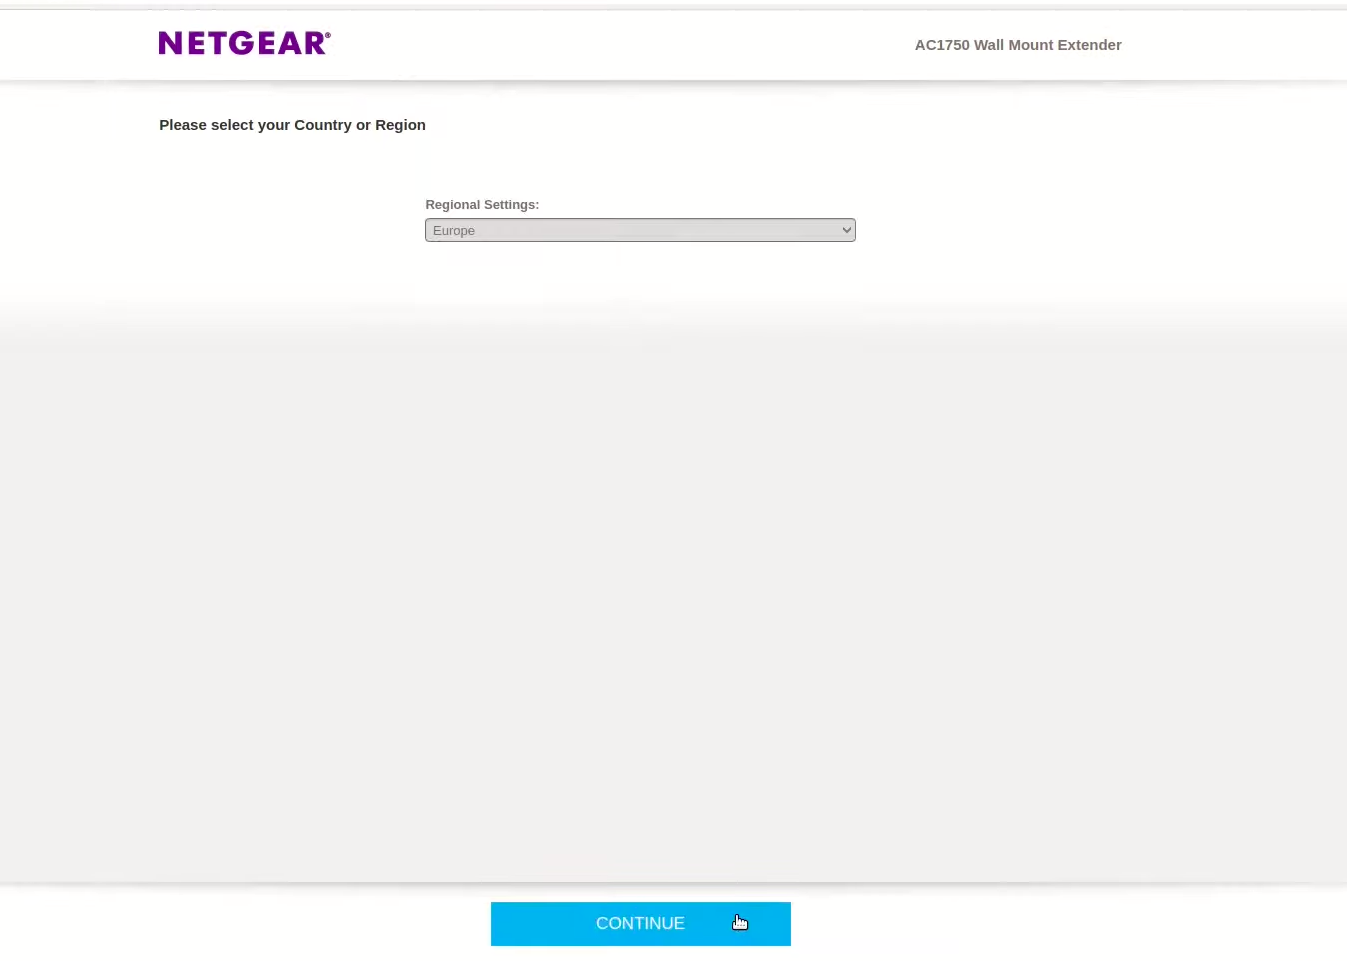
Step 11: Click Continue
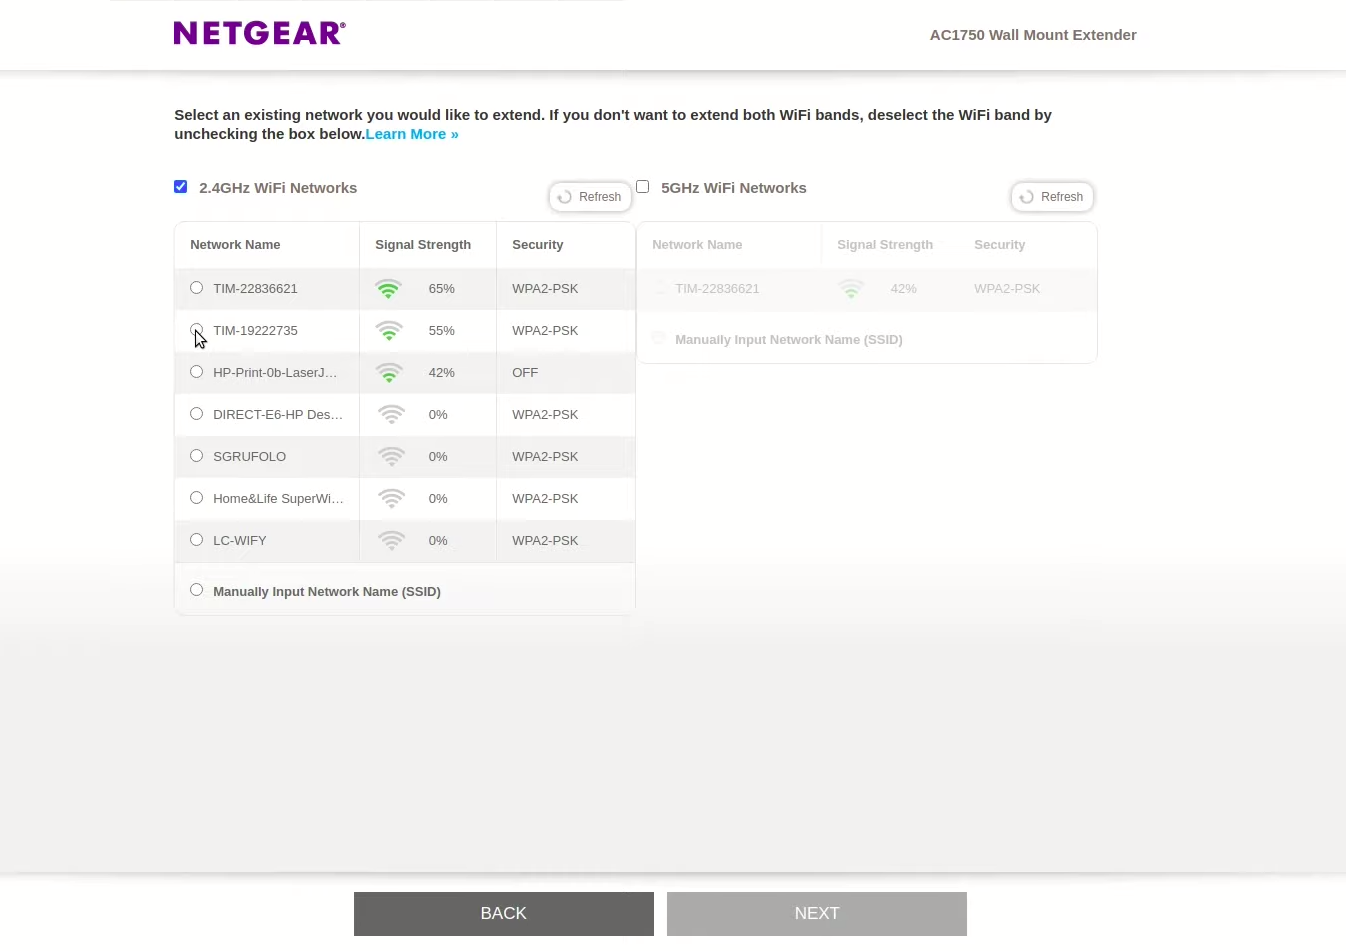
Step 12: On the page, select the wifi that you want to extend
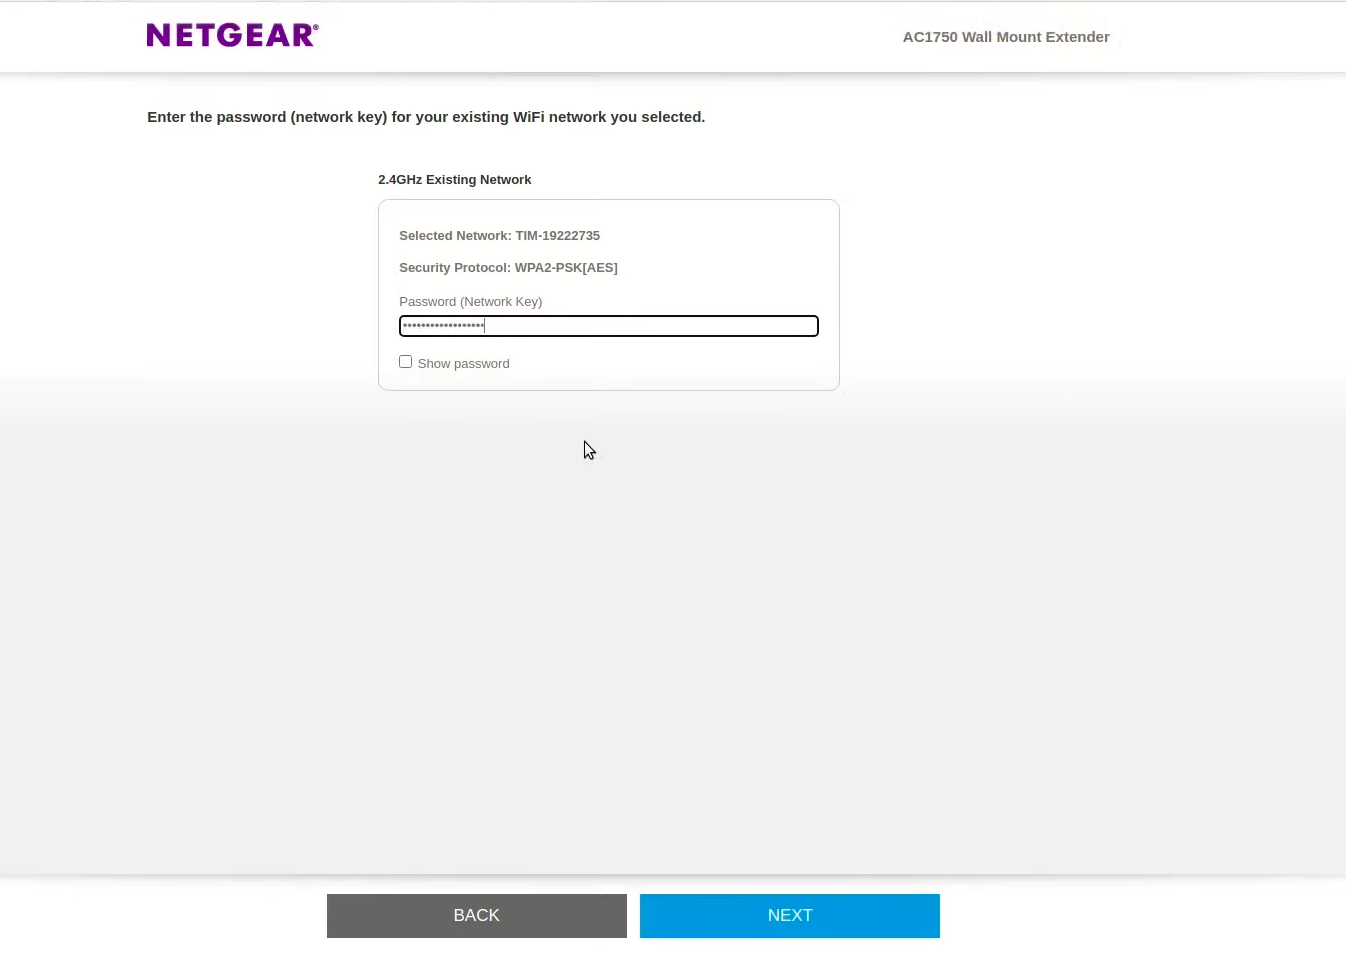
Step 13: Enter the password of your wifi connection that you want to extend
Step 14: Click Next
Step 15: Create a Network Name on the next page for your extender (This is going to be the wifi name and password of your extender)
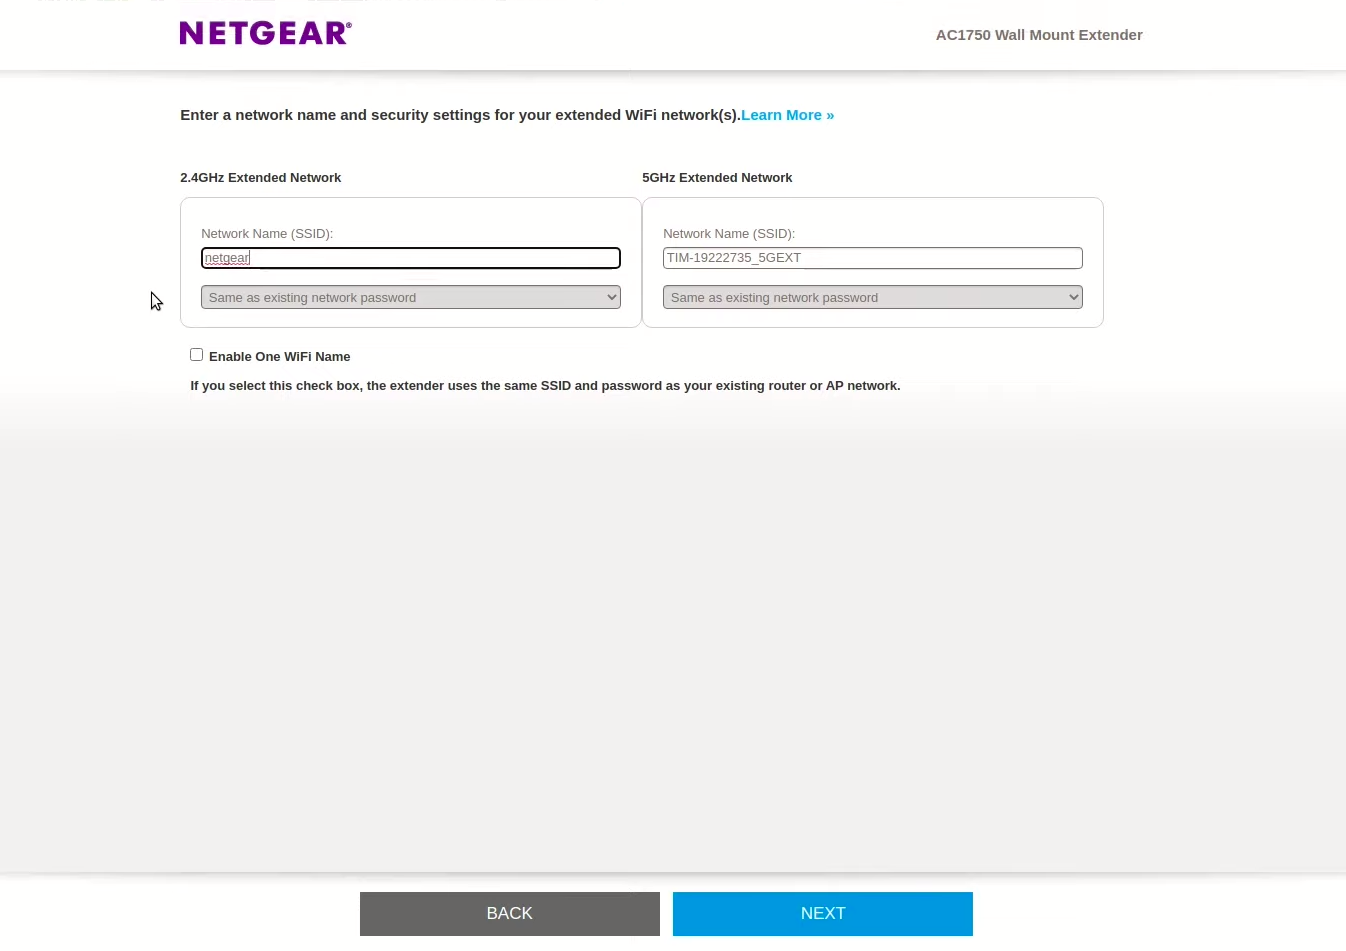
Step 16: Click Next
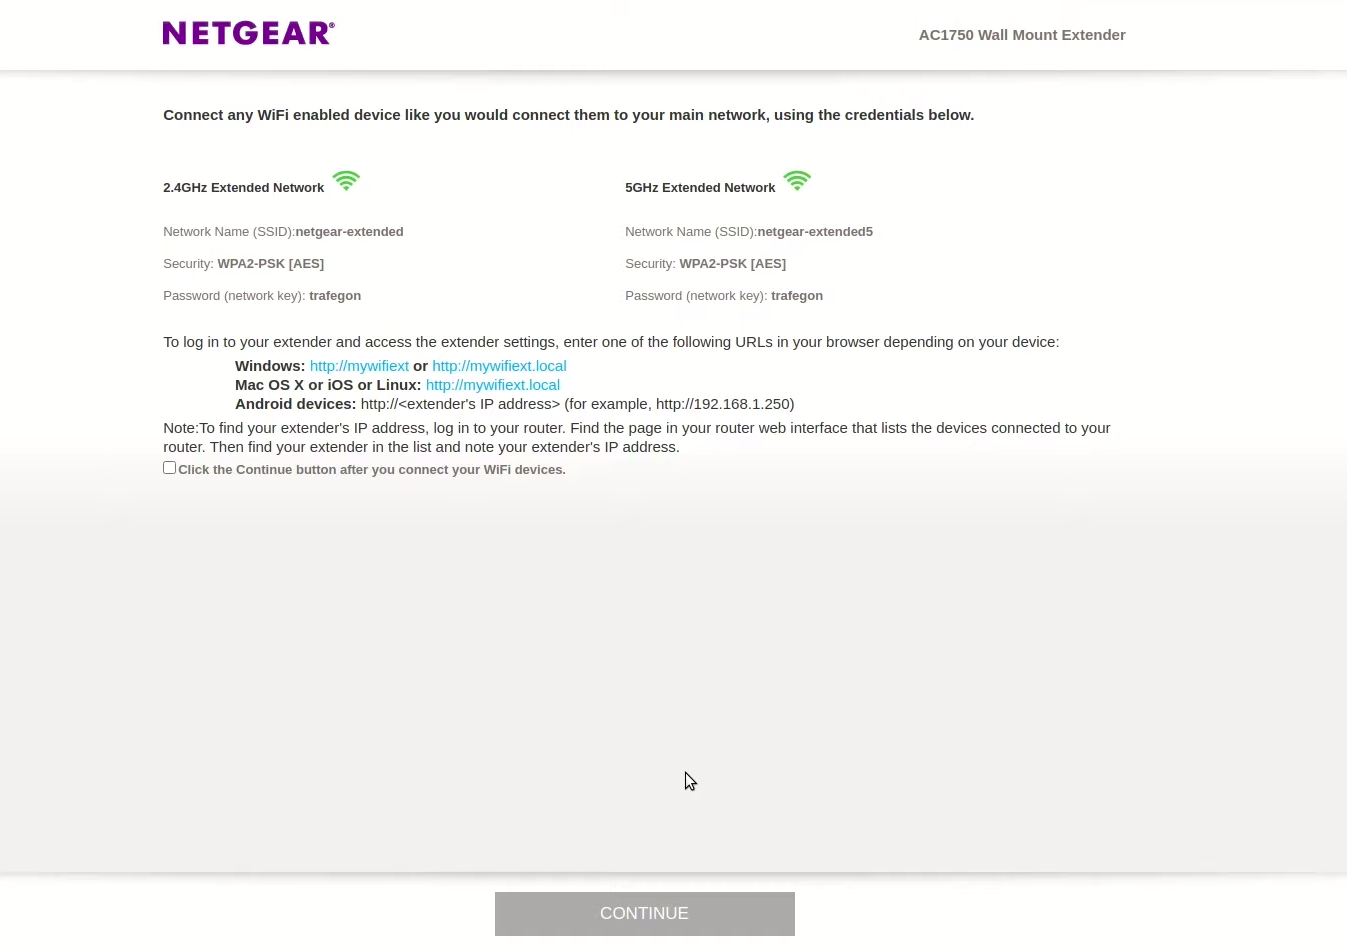
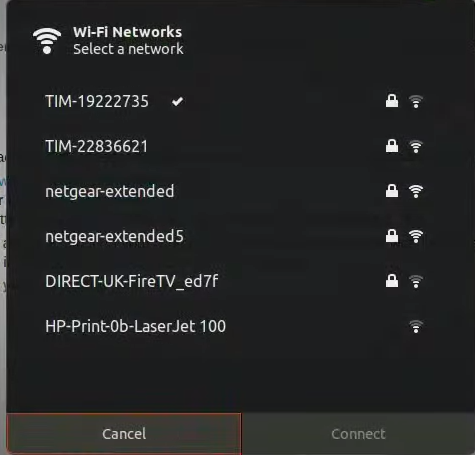
Step 17: Now let the screen be in place and navigate back to your wifi settings
Step 18: Click on the extender name you set up in the previous step
Step 18: Enter the password you created
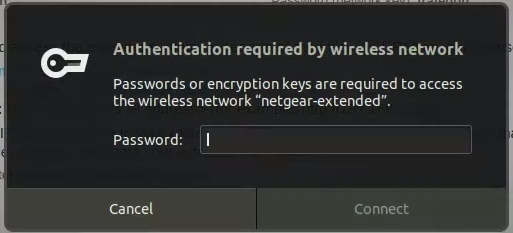
Step 19: Click on Connect
Step 20: Now come back to the setup screen in the browser, select the click the continue button after you connect your wifi devices checkbox
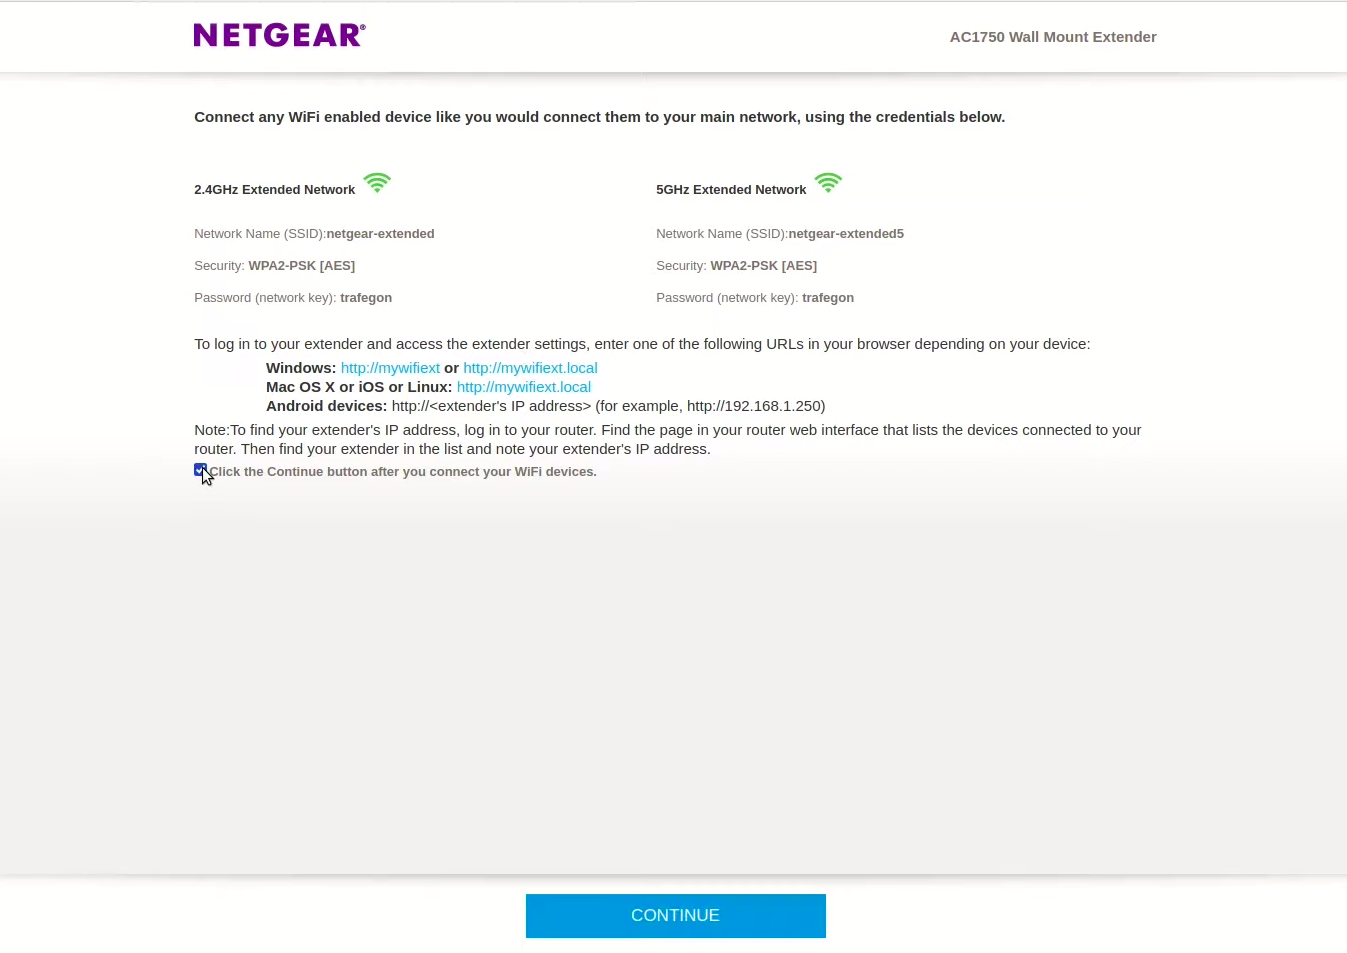
Image Credits: trefegon
Step 21: Click Continue
The setup is successfully completed!
.